How to Start a Small Container Garden on a Patio or Balcony
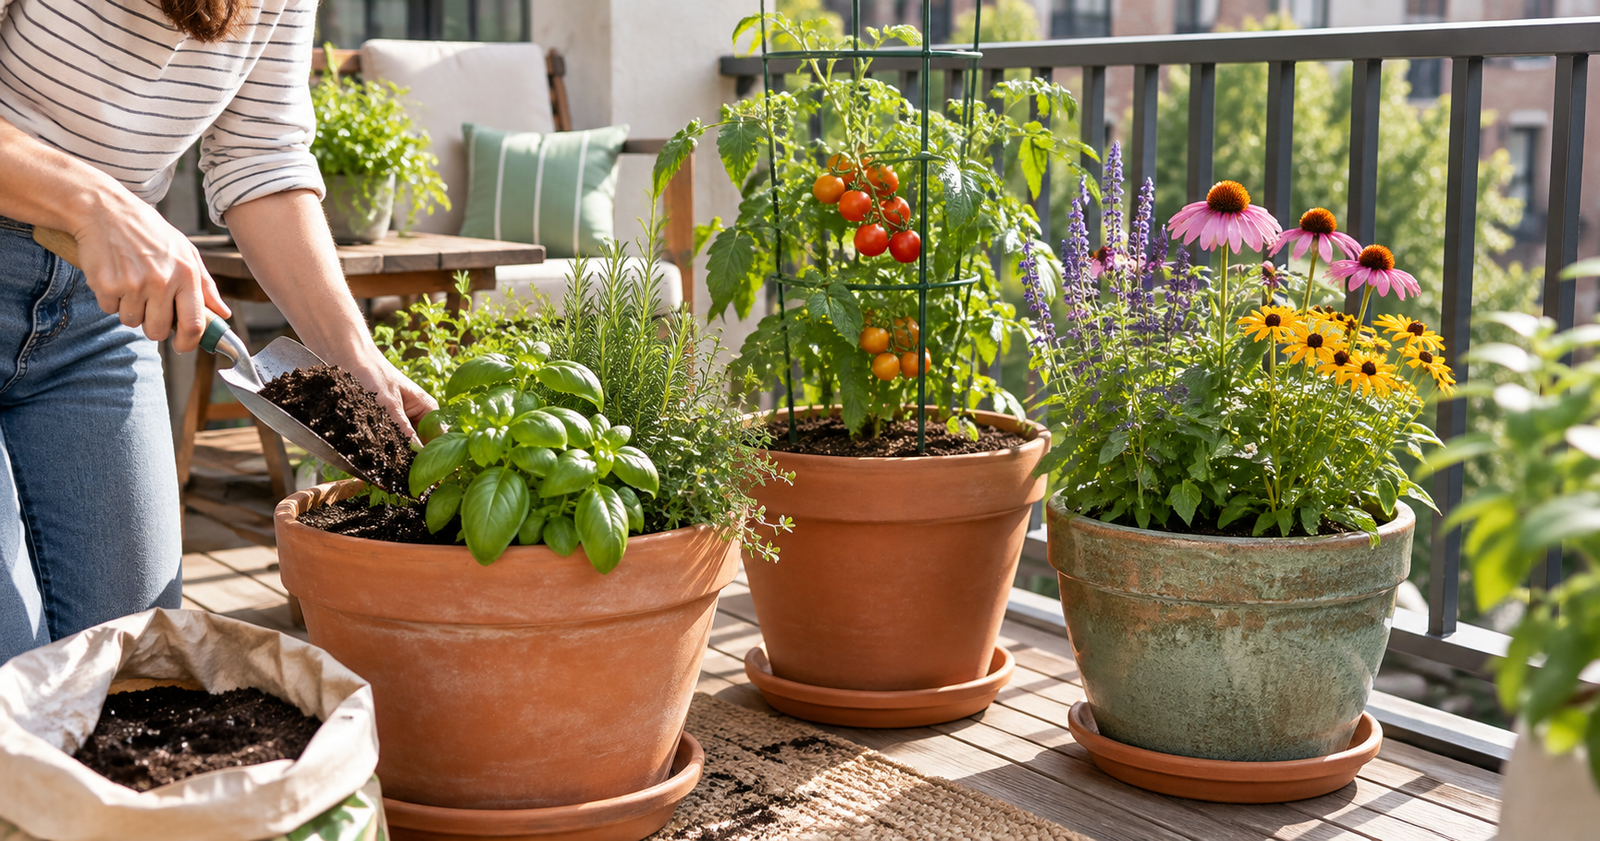
A container garden is one of the simplest ways to start growing, especially when you have a patio, balcony, stoop, or a small patch of hard surface instead of a yard. You do not need a row of matching pots or a complicated system. A few containers with drainage, a suitable growing mix, the right light, and a realistic watering routine can teach you a great deal in one season.
Check light, weight, and water before buying plants
Watch the space for a day. Note where direct sun lands, when it disappears, and whether nearby walls reflect extra heat. Edible plants that fruit—such as tomatoes and peppers—usually need substantial direct light, while many herbs and foliage plants cope with gentler conditions. Choose plants for what your space actually receives, not for the garden you wish it had.
On a balcony, confirm building rules and think about safety before loading it with containers. Wet soil is heavy, and large pots can become much heavier after rain. Keep planters stable, away from edges, and positioned so water does not drip onto a neighbor’s space or create a slippery walkway. If you rent, ask before mounting rail planters or adding structures.
Choose containers that fit the plant
Every container needs drainage holes. This is non-negotiable: without a way for excess water to leave, roots can sit in a saturated mix even when the surface looks dry. A saucer can protect the surface below, but empty it after watering rather than leaving a pot in standing water.
Match the pot size to the plant’s mature root space. A tiny herb can begin in a modest pot, while a fruiting vegetable needs a larger, more stable container. Bigger is not always better for a small seedling, but a pot that is too small dries rapidly and limits growth. Read the plant tag for spacing and container guidance, then give each plant room instead of crowding several varieties into one pot.
Use potting mix, not soil from the yard
Use a fresh potting mix made for containers. It is designed to hold some moisture while leaving air around roots. Garden soil can compact in a pot, drain poorly, and introduce weeds or pests. Do not place gravel or broken pottery at the bottom as a drainage shortcut; the pot’s drainage holes and a suitable mix do the important work.
Fill the container until the soil line will sit a little below the rim after planting. This small gap makes watering easier and helps prevent mix from washing out. Moisten dry potting mix gradually before planting if it is repelling water, but do not turn it into mud.
Start with three compatible plants
| If your space has… | Try starting with… | Why it is manageable |
|---|---|---|
| Strong direct sun for much of the day | One compact tomato or pepper, basil, and a flowering annual suited to your area. | They share a preference for warmth and regular watering, but still need separate space. |
| Morning sun and afternoon shade | Parsley, mint in its own pot, leafy greens in season, and shade-tolerant flowers. | Gentler sun reduces heat stress during the hottest part of the day. |
| Bright shade with little direct sun | Foliage-focused containers and herbs that tolerate lower light. | Success comes from choosing for leaves and form rather than expecting fruit. |
| A hot, windy exposed spot | Heat-tolerant ornamental plants and sturdy, heavier containers. | They are less likely to topple or collapse between waterings. |
Plant tags are still the final authority for each variety. A patio can create a warmer or windier microclimate than the rest of a property, so begin with a small test rather than planting every available surface.
Plant carefully and water deeply
Water the nursery pot before removing the plant. Slide it out gently, loosen only circling roots that come away easily, and place it at roughly the same depth it grew before. Backfill with potting mix, press lightly to settle the plant, and water slowly until a little reaches the drainage holes. Avoid burying stems deeper just to make a plant stand upright; a simple stake or support may be the better answer.
Then check the pot, not the calendar. Insert a finger into the top inch or two of mix, and lift smaller pots to learn how a watered container feels compared with a dry one. Hot, breezy weather can dry containers quickly, while cool or rainy periods call for less watering. Water early in the day when possible and aim at the soil rather than routinely soaking leaves.
Give plants enough room to grow
A common first-season mistake is making the pot look full on planting day. Crowded plants compete for water, nutrients, and air movement, and a crowded container can encourage disease problems. Follow spacing guidance even when the pot looks sparse at first. A healthy plant needs room for roots as well as leaves.
Use supports early for plants that will need them. A small cage or stake is easier to place when the plant is young than after stems have tangled. Secure it in the potting mix without damaging the main root ball, and check it after wind or heavy rain.
Create a five-minute care loop
Walk past your containers every day or two. Look for dry mix, wilted leaves, pests, flowers that need deadheading, or a pot that has tipped. This is not a demand for constant work; it is an easy way to catch a problem while the response is simple. A quick look also helps you enjoy what is changing.
Feed only as the plant and product instructions recommend. A fresh potting mix may contain nutrients already, and too much fertilizer can cause problems. If a plant looks unhappy, check light, soil moisture, and drainage before adding anything to the water.
Let the first season be useful practice
Container gardening rewards small experiments. Keep a note of which pot received the most sun, which plant needed water first, and what you would space differently next time. A single productive herb pot or a healthy flowering container is a genuine success; you do not need a large harvest to learn something valuable.
For help choosing what belongs in your conditions, revisit easy outdoor plants for your climate. If you are setting up a stand, measuring a container, or adding simple supports, use the guidance in a basic household tool kit. Start small, observe carefully, and let each container earn its place in your next season’s garden.