How to Build a Basic Household Tool Kit for Beginners
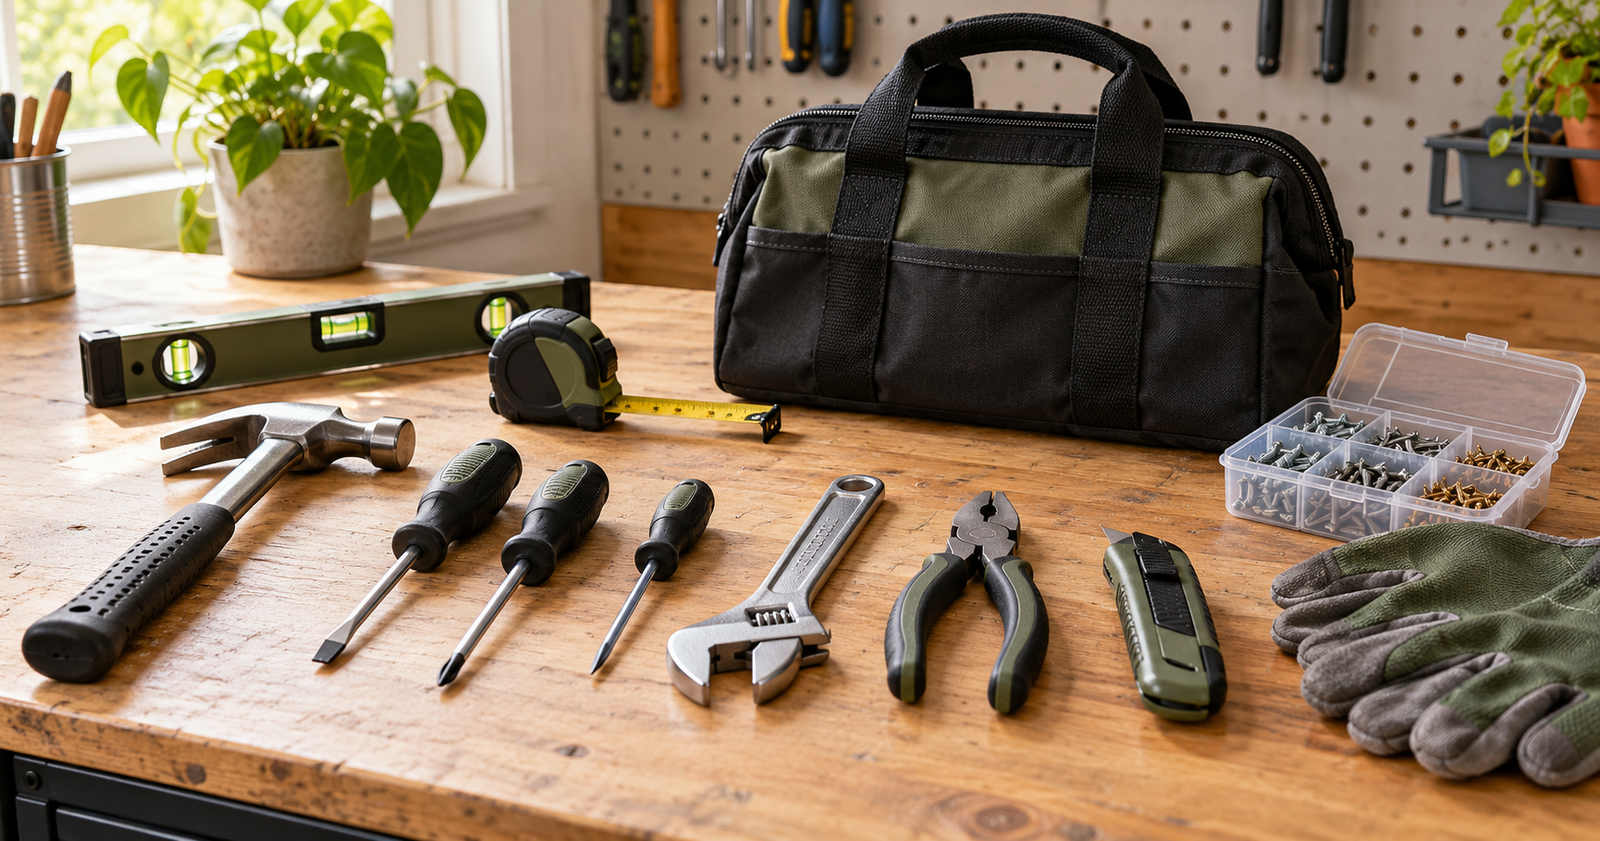
A useful household tool kit is not a giant box bought all at once. It is a small, dependable collection that helps with ordinary tasks: hanging a picture, tightening loose hardware, measuring a shelf, changing batteries in a flashlight, or assembling furniture according to its instructions. Start with tools you understand and add a specialty item only when you have a specific job for it.
Build for the jobs you actually have
Before shopping, walk through your home and make a short list of recurring needs. Maybe you need to measure closet shelving, tighten cabinet pulls, hang lightweight art, or keep a flashlight ready for an outage. A renter may need a different kit from someone maintaining a detached house. The goal is not to own every tool; it is to avoid improvising with the wrong object when a small task comes up.
Choose comfortable, solid tools with clear markings over a large bargain assortment. A few pieces that fit your hand and work reliably are more useful than dozens of unfamiliar bits. Keep receipts and packaging until you have confirmed that a tool suits the intended task.
The core kit: eight useful starting points
| Tool | What it helps with | Beginner note |
|---|---|---|
| Claw hammer | Small nails, picture hooks, and gentle nail removal. | Use the right fastener for the wall and wear eye protection when there is a risk of flying debris. |
| Screwdriver set | Cabinet hardware, battery compartments, furniture, and small household screws. | Use a tip that fully fits the screw; a poor fit can strip it. |
| Tape measure | Furniture, shelves, curtains, replacement parts, and project planning. | Retract the blade slowly and keep fingers clear of the edge. |
| Small level | Picture frames, shelves, and curtain hardware. | Check the surface itself, not only the object you are mounting. |
| Adjustable wrench | Some nuts and bolts on accessible, non-electrical household hardware. | Fit the jaws snugly before turning; do not force a stuck connection. |
| Slip-joint or needle-nose pliers | Holding small items, bending light wire, and gripping hardware. | They are not a substitute for electrical work or for a pipe wrench. |
| Flashlight and spare batteries | Power outages, closets, under-sink inspections, and finding dropped hardware. | Store it where everyone can find it and test it twice a year. |
| Work gloves and safety glasses | Basic protection while handling rough materials or small repairs. | Protection does not make an unsafe task safe; stop when the risk changes. |
Add small supplies, not just tools
A compact organizer for assorted screws, picture hooks, felt pads, zip ties, and wall anchors can save a trip to the store. Label it clearly and keep only the fasteners you can identify. Hardware should match the wall material, the object’s weight, and the manufacturer’s instructions. When a shelf, mirror, television, or heavy item is involved, do not guess at an anchor or mounting location.
Keep a pencil, painter’s tape, and a small notepad with the kit. They make measurement and layout more accurate without marking surfaces permanently. For a first project, painter’s tape can show where a picture frame or hook will sit before any hole is made.
Buy specialty tools only when a project requires them
A stud finder, cordless drill, socket set, pipe wrench, or laser level may be helpful later, but none belongs in every first purchase. Borrowing, renting, or asking an experienced friend for a demonstration can be sensible before buying a tool you may use once. Read the manufacturer’s manual before using powered equipment and keep guards, batteries, and accessories matched to the product.
Do not build a tool kit around jobs that need a licensed or qualified professional. Electrical panels, gas appliances, structural changes, roof work, major plumbing, and repairs involving unknown building materials are not beginner practice projects. In a rental, check the lease and contact the property manager before changing fixtures or hardware.
Use a simple decision check before starting
Ask three questions: Do I understand the tool and the task? Can I stop without leaving the home less safe? Do I know what would make me call for help? If any answer is no, pause. For instance, tightening an accessible cabinet pull is different from opening a dishwasher panel; replacing a felt pad is different from repairing a loose stair tread.
Set up a clear work area, keep children and pets away, and use stable footing. Never use a chair as a ladder. Turn off and unplug equipment before cleaning or adjusting it when the instructions require that step. A calm setup often prevents the rushed mistakes that damage finishes, strip screws, or cause injuries.
Store the kit where it is useful
A small tool bag, latching tote, or drawer organizer works well when it has one consistent home. Choose a dry, reachable location away from young children and household moisture. Return tools after use, wipe them clean, and replace cracked handles, damaged cords, or dull blades rather than trying to make them last indefinitely.
Once or twice a year, test the flashlight, look for rust, and remove duplicate or unidentified hardware. Add notes about the size of replacement filters, batteries, or fasteners you commonly need. That small routine turns a collection of tools into a system you can rely on.
Start with one low-risk project
Pick a project with a clear endpoint: add felt pads to a chair, tighten a loose cabinet knob, or measure a space before ordering storage. Follow the instructions, put the tools away, and notice what would have made the task easier. This is how a practical kit grows—one well-understood job at a time.
For a broader plan, pair this kit with a basic home maintenance checklist, and use the guide to checking doors and windows for drafts when you are ready to inspect a specific comfort concern. Good home maintenance is not about doing everything yourself. It is about making informed, safe choices and knowing when a professional is the right next call.