How to Clean Kitchen Cabinets Without Damaging the Finish
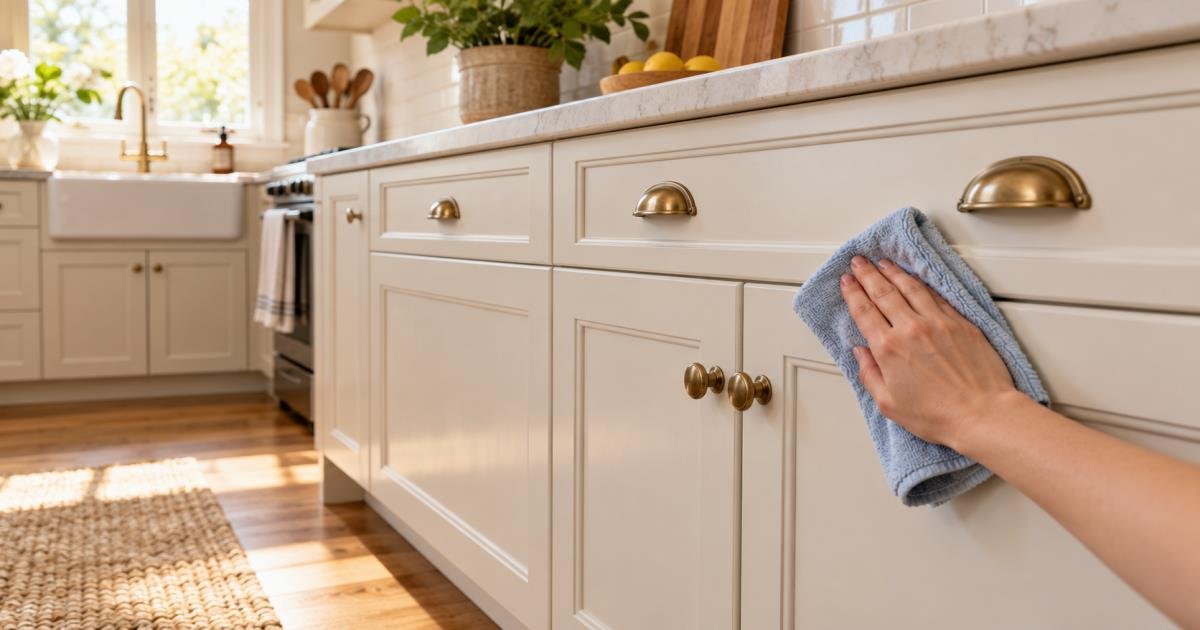
Kitchen cabinets collect fingerprints, cooking residue, and splatters because they sit close to daily food preparation. Gentle, regular cleaning usually works better than a strong product used after grime has built up. The safest method depends on the cabinet material, finish, and manufacturer guidance.
Identify the Cabinet Surface First
Before choosing a cleaner, look for information from the cabinet manufacturer, installer, or property manager. Painted wood, stained wood, laminate, thermofoil, metal, and unfinished surfaces can react differently to moisture and cleaning products. If the material is unknown, begin with the mildest practical method and test it in an inconspicuous spot, such as the inside edge of a door.
Look closely for peeling finish, cracked paint, swollen edges, loose veneer, or water damage. Cleaning cannot repair those conditions, and vigorous scrubbing can make them worse. In a rental, photograph existing damage and report a maintenance concern through the proper channel before attempting a repair or using an unfamiliar product.
Gather Gentle, Simple Supplies
For routine cleaning, start with a soft microfiber cloth, a second dry cloth, a bowl of warm water, and a small amount of mild dish soap if the manufacturer permits it. The cloth should be damp, not dripping. Excess water can enter seams, soften adhesive, swell wood products, or leave streaks behind hardware.
A soft toothbrush or small detailing brush can help around handles and decorative grooves, but avoid abrasive pads, steel wool, rough scouring powders, or stiff brushes. Those tools can dull a sheen, scratch laminate, remove paint, or create small areas where grime collects more easily. Keep a clean towel nearby so moisture is removed promptly.
Use a Safe Step-by-Step Method
- Remove loose crumbs and dust with a dry microfiber cloth.
- Test the cleaning solution in an out-of-sight area and allow it to dry.
- Work on one small door or drawer front at a time, wiping gently in the direction of the wood grain where applicable.
- Use a second cloth lightly dampened with plain water only if residue needs to be removed.
- Dry the surface and edges immediately with a clean cloth.
Do not spray cleaner directly on doors, hinges, or seams. Spraying a cloth first gives you better control and reduces the chance that liquid will run behind hardware or into the cabinet box. Open doors after cleaning so you can inspect corners and remove any moisture that reached the inside edge.
Handle Grease Without Scrubbing Aggressively
Cabinets near the range often develop a tacky film from cooking oils. Start with a warm, lightly soapy cloth and give the residue a moment to soften rather than scrubbing harder. Wipe a small section, rinse the cloth as it becomes dirty, and dry the surface. Repeating a gentle pass is safer than using a harsh degreaser without confirming it is compatible with the finish.
Ventilation reduces future buildup. Use the range hood when cooking if it is working properly, clean visible splatters after the surface cools, and cover pans when appropriate. If grease is unusually heavy or the finish reacts during a test, stop and consult the cabinet maker, finish manufacturer, or a qualified cleaner rather than experimenting with stronger household chemicals.
Clean Hardware and Areas Around Handles
Handles and pulls collect oils from hands more quickly than the flat parts of a door. Wipe them with a damp cloth and dry them well. Avoid soaking hardware or allowing cleaner to pool where it meets the cabinet. If a handle is loose, tighten it carefully with the appropriate tool, but do not overtighten screws in particleboard or thin cabinet doors.
For hinges, use only the care method recommended by the hardware manufacturer. General-purpose oil, vinegar, bleach, or a strong solvent may not be suitable for every finish. Wipe surrounding wood or laminate promptly after any approved hardware maintenance.
Build a Maintenance Routine
Wipe high-touch areas every week or two and do a more complete cabinet clean a few times each year, depending on cooking habits. A quick cloth after frying or a sauce spill is usually enough to prevent the buildup that makes cleaning difficult. Check under the sink and around the dishwasher regularly for leaks, swelling, or musty smells; those are maintenance concerns, not cleaning tasks.
Cabinets last longer when they are treated as finished surfaces rather than as worktables. Use cutting boards and trivets, keep standing water off edges, and avoid hanging wet towels from doors. If you are unsure about a product, a small test and the manufacturer's directions are more reliable than a popular cleaning shortcut.
Products and Methods to Avoid
Strong solvents, oven cleaners, chlorine bleach, ammonia-based products, and abrasive powders can damage or discolor many cabinet finishes. Natural does not automatically mean safe either: acidic products may etch or dull certain finishes, and oil-heavy mixtures can leave residue that attracts dust. Do not use a product simply because it worked on tile, glass, or a stainless-steel appliance.
Steam cleaning should also be approached carefully. Heat and moisture can work their way into seams, lifting laminate or affecting wood and adhesives. Unless the cabinet manufacturer specifically approves it, a barely damp cloth followed by immediate drying is usually the lower-risk option. When in doubt, preserve the finish rather than trying to achieve a faster result.
What to Do With Stains, Marks, or Odors
Address a fresh food or drink mark promptly with the gentlest method first. If a stain remains after normal cleaning, identify whether it is on the surface or appears to be under the finish. A cloudy patch, lifted coating, water ring, or persistent odor may need professional assessment or manufacturer-specific repair guidance. Scraping at a mark or layering several cleaners can make a small cosmetic issue much harder to correct.
Odors inside a cabinet often point to a source that should be removed rather than masked. Empty the cabinet, check for expired food, damp shelf liners, spills, or evidence of a leak, and allow the interior to dry fully. Contact a property manager or qualified professional if there is recurring moisture, visible mold, pest activity, or a plumbing concern under the sink.
Make Cleaning Easier Next Time
Small protections reduce future work. Use a splatter screen when appropriate, turn on the range hood while cooking, and wipe cooking residue after the area cools. Keep a soft cloth in a nearby drawer so a quick cleanup does not require finding supplies. Ask yourself which cabinet fronts get touched most often and add them to the same weekly reset that keeps counters and the sink manageable.
With the right method, cabinet cleaning is a steady maintenance task rather than an occasional rescue project. Work gently, limit moisture, and respect the finish already on the doors. That approach keeps the kitchen looking cared for without trading a little grease for permanent damage.
A Quick Cabinet-Care Checklist
Before you finish, confirm that every door edge is dry, that no product remains around handles or hinges, and that cleaning cloths have been rinsed or placed in the wash. Return supplies to their storage area and leave cabinet doors open briefly if the interior was wiped. These small steps reduce moisture and prevent cleaner residue from becoming the next cleaning problem.
Conclusion and next steps
Use a gentle cabinet-cleaning method regularly so grease does not become a restoration project. Continue with the simple cleaning routine for household scheduling and the small kitchen organization guide for a more workable prep space.