Beginner Houseplant Care: Light, Water, Soil, and Common Mistakes
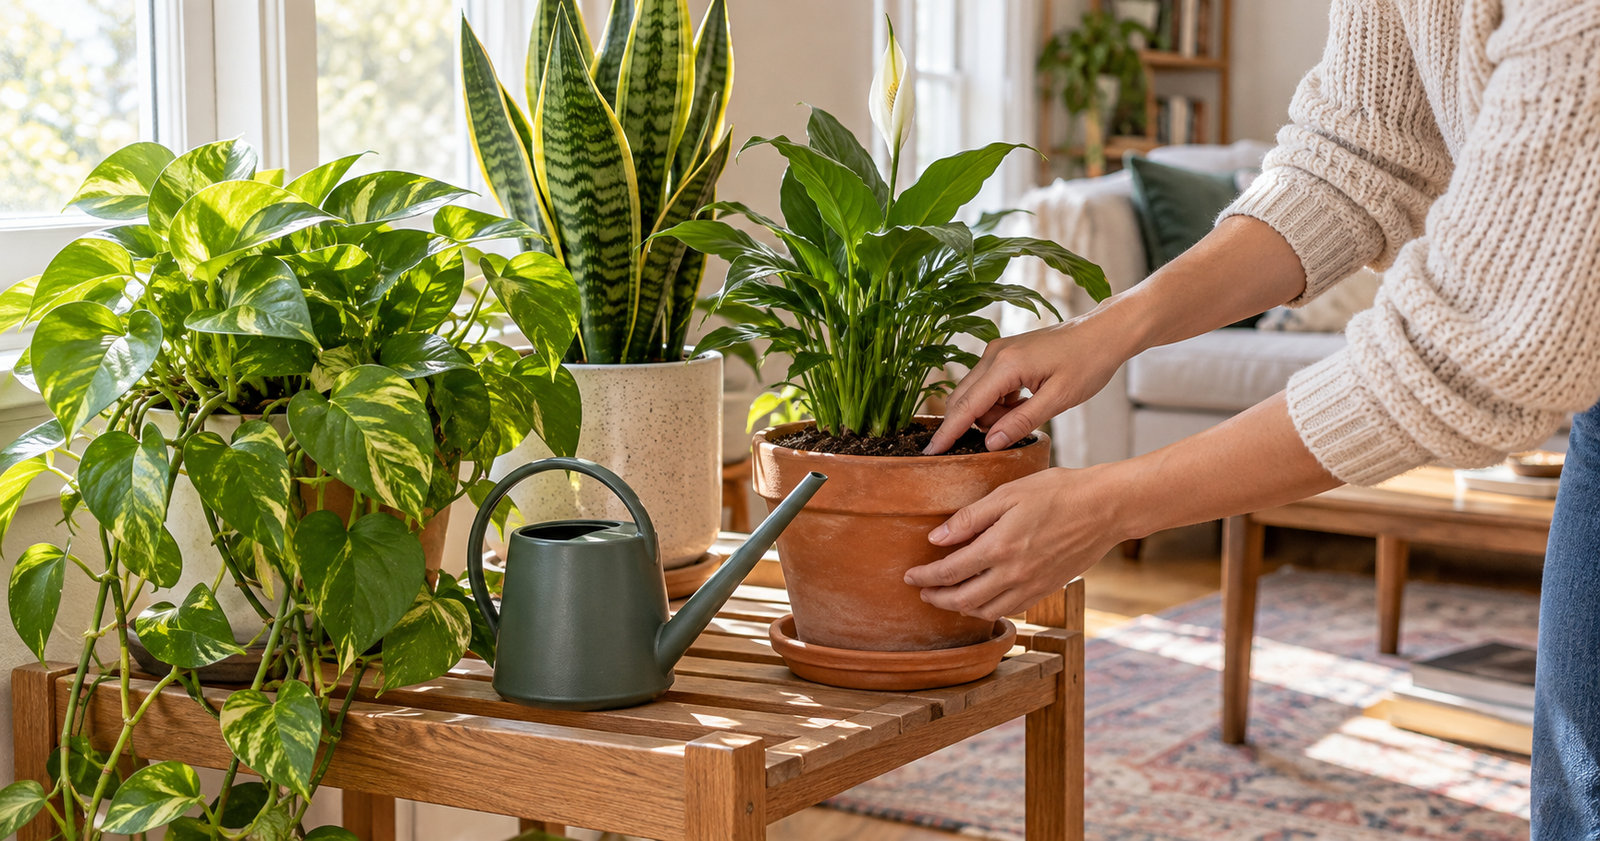
A houseplant does not need a complicated routine to do well. It needs a location that matches its light needs, a pot that drains, and a caregiver who notices small changes before trying five fixes at once. The easiest way to begin is with one plant and a short observation habit—not a shelf full of plants and a calendar full of watering reminders.
Choose a first plant for your real home
Start with a plant that suits the light and attention you can consistently provide. A snake plant, pothos, ZZ plant, or cast-iron plant is often more forgiving than a plant that needs bright direct sun or frequent humidity checks. Read the tag, but also remember that “low light tolerant” does not mean “no light.” Every plant needs enough usable light to grow.
Before bringing it home, decide where it will live. Is the spot near a window, several feet back from one, or in a room that stays dim all day? Is there a cold draft, hot air vent, curious pet, or child within reach? A good location solves more problems than a new fertilizer ever will. If pets or children may chew leaves, check the plant’s safety information from a reliable source and place it appropriately.
Learn to read light before moving the plant
Light changes through the day and from season to season. A sill with several hours of direct sun is very different from a bright room where sunlight never lands on the leaves. Begin by watching the chosen spot for a day. Strong direct afternoon sun can scorch some common foliage plants, while an interior corner may be too dim for a plant labeled “bright indirect light.”
Rotate a plant gradually only if one side consistently leans toward the window. Avoid changing its location every few days; plants need time to respond. If a plant stretches toward light, produces smaller new leaves, or grows slowly over many weeks, move it a little closer to a suitable window rather than assuming it needs more water.
Water by checking the soil, not the calendar
The most common beginner mistake is watering on schedule without checking the pot. Push a clean finger about an inch into the potting mix, or use a wooden chopstick for a deeper pot. If the mix is still damp where the roots are active, wait. If it is dry and the plant’s care needs call for watering, add water slowly until some drains from the bottom, then empty the saucer after a short time.
How fast a pot dries depends on light, temperature, season, pot size, root growth, and the mix itself. A plant may need water more often in a warm, bright summer week and much less often during a darker winter period. “Little and often” is not automatically safer; repeatedly wetting only the surface can leave parts of the root ball dry while encouraging surface pests.
Use a pot and soil that let roots breathe
A container needs at least one drainage hole. A decorative pot without drainage can hold water at the bottom where you cannot see it, so use it as a cover pot and remove the nursery pot for watering. Choose a saucer that protects furniture but does not leave the pot sitting in water for days.
For many foliage houseplants, a fresh, good-quality indoor potting mix is an appropriate start. Do not dig soil from the yard into a houseplant pot; it can compact, drain poorly, and bring in unwanted organisms. Specialty mixes can help with particular plants, but a beginner does not need to make a custom blend for every pot. Repot only when roots are genuinely crowded, the mix no longer takes up water well, or the plant has outgrown its container—not simply because it was recently purchased.
Use leaves as clues, not as a diagnosis
| What you notice | Possible cause | A measured next step |
|---|---|---|
| Lower leaves yellowing and soil stays wet | Overwatering or a pot that drains poorly. | Pause watering, check drainage, and review the potting mix before changing anything else. |
| Leaves limp and pot feels unusually light | The root ball may be dry. | Water thoroughly if the plant’s care needs support it; observe recovery over the next day or two. |
| Brown, crisp patches on exposed leaves | Excess direct sun, dry air, or inconsistent watering. | Check the light pattern first and move the plant gradually if needed. |
| Long bare stems leaning toward a window | Not enough usable light. | Move closer to an appropriate window and turn the pot occasionally. |
| Sticky residue, webbing, or clustered insects | A pest issue. | Isolate the plant, inspect it closely, and identify the pest before choosing treatment. |
Several symptoms can look alike. A yellow leaf may be normal aging, too much water, too little light, or a response to a recent move. Change one likely cause at a time and give the plant a chance to respond. This small pause prevents a stressed plant from being moved, fertilized, repotted, and overwatered all in the same week.
Fertilizer comes after the basics
Fertilizer cannot compensate for poor light, a waterlogged pot, or roots that have been damaged. Once a plant is established and actively growing, follow the product label and the plant’s specific needs rather than adding fertilizer whenever growth seems slow. Skip fertilizer on a newly stressed, recently repotted, or dormant plant unless reliable plant-specific guidance says otherwise.
More is not better. Excess fertilizer can build up in a pot and harm roots. If you are unsure whether your plant needs nutrients, focus first on its light, watering, and drainage conditions. Healthy new growth is a better sign of progress than a dramatic feeding schedule.
Create a five-minute weekly check
Once a week, look at the soil surface, leaf color, new growth, and the area under the pot. Turn the pot slightly, remove fallen leaves, and make sure the saucer is not holding water. This short check is usually enough for a beginner to catch a dry pot, a pest problem, or a leaf leaning too far toward the light.
Take a photo every few weeks from the same angle. It is easier to notice gradual growth or a slow decline when you can compare images than when you are relying on memory. Keep the plant tag or a simple note with the plant name, location, and the date you last repotted it.
Give one plant time to teach you
Success with houseplants is often quiet: a new leaf, a stable watering rhythm, or a plant that looks much the same from one week to the next. Begin with observation, respond to evidence, and avoid dramatic interventions. Once you understand one plant in one spot, adding another becomes much less mysterious.
For a related indoor project, explore a basic household tool kit for safely measuring and setting up a plant stand, then use the home maintenance checklist to make seasonal checks part of your routine. A well-cared-for plant is not an ornament you keep rescuing; it is a small living system whose needs you have learned to notice.