How to Find and Replace a Furnace or HVAC Filter Safely
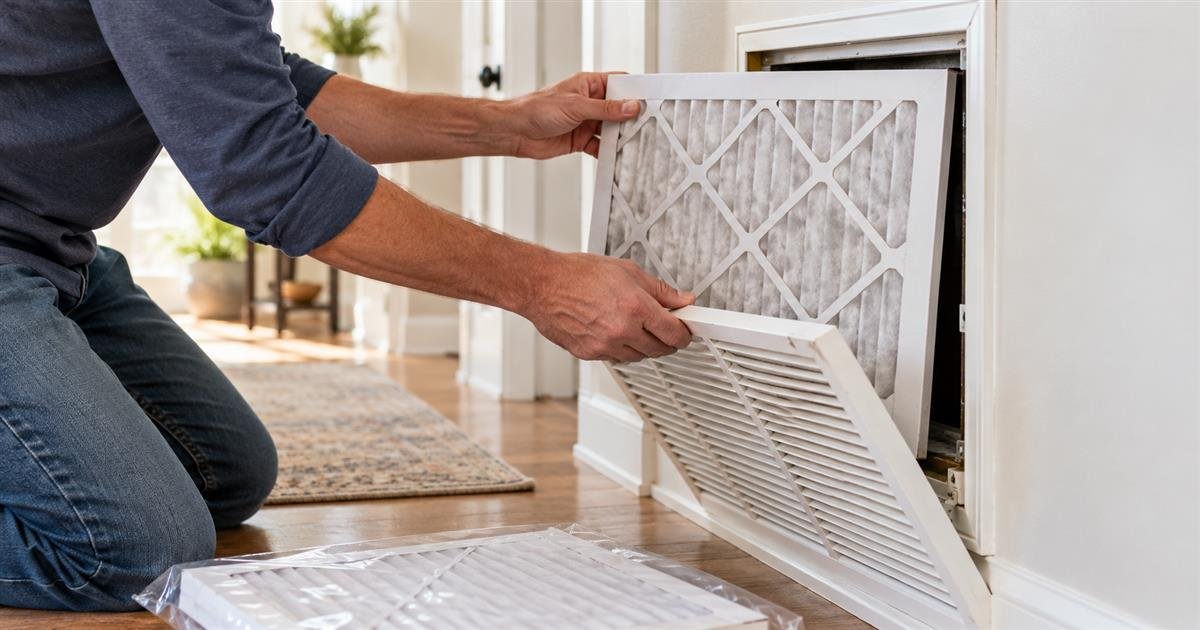
A clogged HVAC filter can make a home feel dusty, reduce airflow, and leave a heating or cooling system working harder than it should. Replacing one is often a manageable household task, but only after you identify the correct filter location, size, and airflow direction. This guide helps you handle the simple part safely and recognize when a technician should take over.
Start With the Manual, Not a Guess
HVAC filters are not interchangeable simply because they look alike. The system manual, a service label, or the old filter may list the nominal size, the filter location, and any instructions from the manufacturer. Look for a label such as 16 × 25 × 1, but measure or compare the old filter if the label is missing or hard to read. Nominal sizes are often rounded; a filter that looks almost right can leave gaps around the frame.
Before buying replacements, note the system model if you can do so without opening a sealed cabinet. A filter for a central furnace, heat pump, wall return grille, or apartment fan-coil may sit in a different place and use a different thickness. If you rent, the lease or property manager may define who supplies filters and where the approved access point is. A quick question is better than forcing a panel that was not designed for resident access.
Know Where the Filter May Be
In many homes, the filter is behind a large return-air grille on a wall, ceiling, or hallway floor. In others, it slides into a slot beside the furnace or air handler. The return grille is usually larger than the supply vents that blow conditioned air into rooms. Do not remove every vent cover looking for a filter. Start with the locations named in the manual, then look for a clearly marked filter rack or a grille with a hinged cover.
Give yourself enough light and room to work. Move a small table, shoes, or storage bins away from the access point rather than balancing around them. If reaching the filter requires climbing a ladder, working near exposed electrical parts, moving a heavy furnace panel, or opening a ceiling access that you do not understand, stop and arrange qualified help. Replacing a filter should not turn into a risky access project.
Choose a Filter That Your System Can Handle
Filter packaging often lists a size and a rating that describes how efficiently it captures particles. Higher-efficiency options may be useful in some households, but a filter that is too restrictive for a particular system can reduce airflow. Follow the system manufacturer’s recommendation or ask an HVAC professional which rating is appropriate for your equipment, household needs, and maintenance schedule. Do not assume that the most expensive filter is automatically the best choice.
Buy the exact size and thickness required, plus one spare if storage is dry and clean. Keep filters flat in their packaging so the cardboard frame does not bend. A damaged frame, torn media, or crushed pleats can create air gaps or make installation difficult. If the old filter is unusually dirty soon after installation, do not just switch to a denser one; ask whether there may be a duct, return-air, or equipment issue worth checking.
Prepare for a Safe Change
Turn the thermostat system setting to off before opening the filter compartment. If the manufacturer’s instructions call for power to be shut off at a nearby service switch or breaker, follow those instructions; do not handle unfamiliar electrical equipment. Waiting until the fan stops keeps the old filter from being pulled loose and prevents dust from being drawn into the cabinet while you work.
Have the new filter, a flashlight, and a small bag ready. Wear gloves if the old frame is dusty or if you are sensitive to dust, but do not use a wet cloth inside the equipment. Avoid spraying cleaners, vacuuming deep inside an air handler, or touching wires, coils, or moving parts. Those jobs can require different tools and training. Your task is limited to removing one accessible filter and installing a matching replacement.
Remove the Old Filter Carefully
Open the grille or filter slot slowly. Before pulling the old filter out, find the airflow arrow printed on its cardboard frame. Take a photo with your phone if it helps. The arrow normally points in the direction air travels toward the equipment, but placement differs by installation. The correct answer is the arrow direction shown on the old filter and the system’s label, not a rule based only on whether the filter is in a wall or furnace.
Slide the filter out without shaking it. Put it directly into the bag and close the bag before carrying it through the home. Check the filter rack for obvious loose debris, bent guides, moisture, or a damaged door. Do not push a new filter into a slot that is wet, blocked, or too small. Take a photograph and contact a technician or property manager if anything looks damaged or if the old filter does not appear to fit the track correctly.
Install the Replacement in the Correct Direction
Match the new filter’s size and thickness to the old one. Locate its airflow arrow and position it the same way as the previous filter or the permanent label on the system. Slide it in gently until the frame rests in the guides. It should sit squarely without bowing, folding, or requiring force. Close and latch the grille or compartment fully; an open access door can create noise, leaks, or reduced performance.
Restore the thermostat setting and listen briefly for normal operation. You do not need to wait for a full heating or cooling cycle, but the cover should remain secure and no unusual rattling, burning smell, or error message should appear. If airflow becomes noticeably weak, the cover will not close, or the system behaves differently after the change, turn it off and seek professional guidance rather than repeatedly restarting it.
Set a Reminder Based on Real Conditions
There is no single replacement interval for every household. The appropriate schedule depends on the filter type, household size, pets, outdoor air conditions, allergy concerns, and how often the system runs. Use the manufacturer’s guidance as your starting point and inspect the filter on a regular reminder. A calendar note such as “inspect HVAC filter” is more accurate than automatically replacing every filter on the same date without looking at its condition.
Write the installation date on the frame if the manufacturer allows it, or keep a note in your home maintenance checklist. This record makes it easier to notice a pattern, order the right size, and explain concerns to a technician. If a filter becomes loaded unusually fast, the home is persistently dusty, or rooms have uneven airflow, document what you see instead of assuming that more frequent filter changes will solve the underlying issue.
Common Mistakes That Create Bigger Problems
A common mistake is installing the filter backward. Another is using a slightly smaller size because it was available at the store. Both can allow unfiltered air to bypass the media or interfere with intended airflow. Stacking two thin filters in a slot designed for one, trimming a filter frame, or operating the system with no filter are not safe substitutes for the correct product.
It is also easy to forget that the return-air path needs to stay open. Do not place a bookcase, laundry basket, or drapery directly against a return grille after replacing the filter. During a broader household reset, keep vents and returns visible and free from accumulated items. The weekly home reset routine can help turn that quick check into a habit.
When to Call an HVAC Professional
Call a qualified HVAC professional for repeated tripped breakers, burning or gas odors, water around equipment, ice on refrigerant lines, loud mechanical noise, no airflow, or a filter compartment that is inaccessible or damaged. Never attempt to repair gas lines, electrical connections, motors, coils, or refrigerant equipment yourself. If you smell gas, leave the area and follow local emergency guidance and your utility’s instructions rather than trying to troubleshoot the appliance.
A service visit is also sensible when you cannot identify the correct filter, the system has multiple filters, or the instructions conflict with what you see. A technician can show you the approved access point and explain a realistic maintenance schedule. That one clarification can prevent years of installing the wrong filter in the wrong location.
Conclusion and Next Steps
Replacing an accessible HVAC filter is a small maintenance task with an important rule: use the exact filter and directions intended for your equipment. Read the label, stop the system as instructed, keep the airflow arrow oriented correctly, and avoid touching components beyond the filter access. Record the date, inspect again on a sensible schedule, and call a professional when the job involves damage, unsafe access, or a system problem. A short, careful routine is more useful than a rushed repair attempt.