How to Patch Small Nail Holes in Drywall
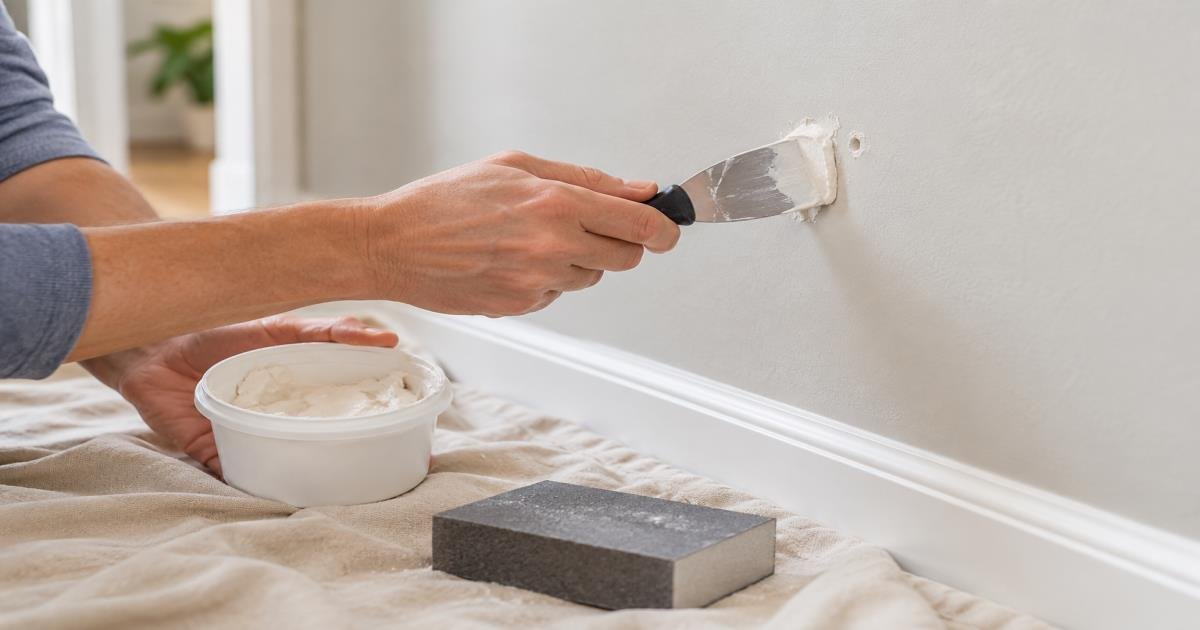
A few small nail holes are one of the most approachable wall repairs in a home. The key is restraint: use a small amount of the right patching material, let it dry fully, and sand only enough to make the repair level. Rushing any of those steps can leave a shiny bump, a hollow spot, or a much larger paint touch-up than the original hole required.
Confirm That the Damage Is Truly Small
This method is for ordinary pinholes and small holes left by picture nails. Look closely at the area first. A hole with a cracked edge, a dent larger than a thumbprint, loose drywall paper, moisture staining, or a soft wall surface needs a different repair. Do not cover a stain that may be caused by an active leak. Find and correct the source of moisture before patching, or the finish may fail again.
Also look for a pattern. Several tiny holes from a gallery wall are usually cosmetic. Repeated cracks around doors or windows, long seams that are opening, or holes near an electrical box can indicate movement or a more involved repair. In a rental, take dated photos and check the lease before making changes. Some property managers prefer to handle wall repairs or specify the paint that should be used.
Gather a Short, Clean Tool List
You need lightweight spackle or another manufacturer-approved patching compound, a small flexible putty knife, fine sanding material, a clean cloth, and matching wall paint for a final touch-up. A small drop cloth protects flooring and furniture. Choose a putty knife that is wider than the hole; a very narrow blade tends to dig material out instead of feathering it across the surface.
Avoid buying an entire drywall repair kit for two nail holes unless it includes materials you will use later. Do not use caulk, toothpaste, soap, or other improvised fillers. They may shrink, discolor, stay soft, or reject paint. Read the compound label for drying time, ventilation guidance, and whether the product is intended for shallow cosmetic repairs.
Prepare the Surface Before Filling
Remove dust with a dry cloth. If the nail left a raised rim, press it gently inward with the handle of the putty knife so the finished wall will be flat rather than proud of the surrounding paint. Do not enlarge the hole with a screwdriver or scrape aggressively at intact paint. The goal is to make a stable, clean depression that a thin layer of compound can fill.
Place the drop cloth below the work area and keep sanding dust contained. If you suspect old lead-based paint, especially in an older home, pause before sanding and follow appropriate local guidance or consult a qualified professional. A simple nail-hole repair should not create unnecessary dust from unknown coatings.
Apply a Thin First Coat
Put a small amount of compound on the knife, not directly into the wall. Pull the blade over the hole at a slight angle, pressing enough to fill it, then make a second light pass to remove excess. The compound should be nearly flush with the wall. A thick mound takes longer to dry and usually creates more sanding work.
For a cluster of holes, repair them one at a time with clean passes instead of smearing a large area. Step back a few feet after each pass. The repair may look slightly visible while wet, but it should not have ridges or a wide patch of excess compound. Let it dry for the full time stated on the label. Cool, humid rooms can extend drying time.
Sand Lightly and Check With Side Light
Once the compound is completely dry, use fine sanding material with very light pressure. Your goal is to blend the edge, not grind a crater into the patch. Wipe away dust, then shine a lamp or flashlight across the wall from the side. Side light reveals bumps and shallow edges that normal overhead lighting can hide.
If the hole still looks low, apply a second very thin coat and repeat the drying process. Two thin coats are easier to control than one thick one. Stop sanding as soon as the repair feels smooth. Over-sanding can expose drywall paper or remove enough surrounding paint that a small repair becomes a larger finishing job.
Match Paint Deliberately
Even a neatly patched hole can show if the touch-up paint does not match the wall’s color and sheen. Use leftover labeled paint when available. If the original paint is unknown, bring a sample or consult a paint store for matching options. Test a small amount in an inconspicuous area first, because lighting and paint aging can make a color look different after drying.
Use a small brush for tiny repairs and blend the paint just beyond the patch edge. A roller may better match textured walls, but it can be excessive for a single pinhole. Let the paint dry before deciding whether another coat is necessary. Painting while the patch or first coat is still damp can create a dull spot or pull material from the repair.
Common Mistakes to Avoid
The most common mistake is overfilling. Another is sanding before the compound has dried, which tears the surface and makes a mess. Skipping surface cleaning can trap dust under the filler, while using a broad paint sample without checking sheen can create a visible square around a tiny repair.
Do not cover holes that may conceal electrical wiring, plumbing, or a damaged anchor. If a picture hanger pulled out a large chunk of drywall, use a repair method rated for that size of hole or call a qualified professional. The home maintenance checklist is a useful place to note recurring wall damage or stains that need follow-up.
Keep Future Wall Changes Easier
Work Cleanly in Lived-In Rooms
Move bedding, electronics, food, and fabric items away from the repair zone before sanding. Collect dust from hard flooring after the work is complete, but do not wipe the fresh patch itself. Follow the compound label’s ventilation instructions and keep children and pets out of the immediate work area until it is clean.
Check the repair in the same daylight or lamp light that normally reaches the wall. A patch that looks smooth under a bright work light may show when evening light casts a shadow across it. This final check tells you whether a thin second coat is useful before touching up paint.
When rearranging art, measure first and use hanging hardware rated for the item’s weight. Store a small labeled container with the paint code, a putty knife, and patching compound so future touch-ups do not become a search for supplies. During a weekly home reset, a quick glance at walls and trim can help you notice small scuffs before they accumulate.
Conclusion and Next Steps
Small nail holes respond best to a simple process: inspect the wall, fill sparingly, let the compound dry, sand lightly, and match paint carefully. Stop if the wall is damp, damaged, cracked, or more than cosmetically marked. A patient repair protects the finish and keeps a small project from becoming an avoidable wall replacement.