How to Fix a Dripping Faucet: When It Is Simple and When to Call a Plumber
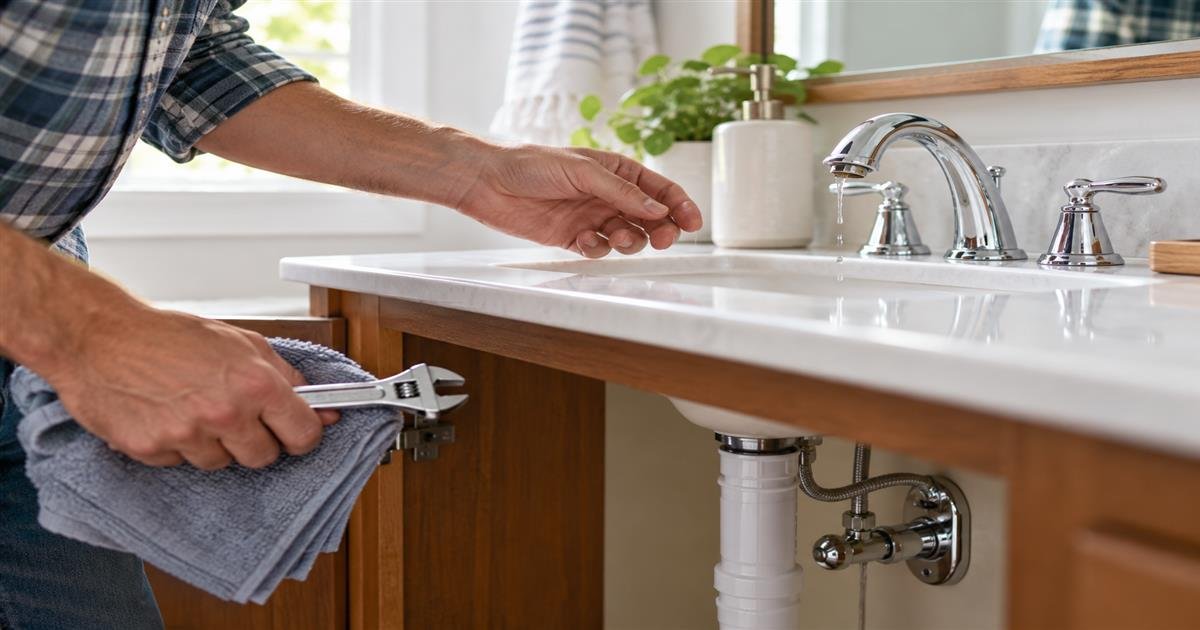
A faucet that drips after it is turned off can be annoying, but it can also be a useful signal. Sometimes the cause is a worn washer, cartridge, or aerator that can be addressed with a matching replacement part. Other times, a leak points to corrosion, a damaged valve, hidden water damage, or a problem that should not become a first plumbing project. The safest repair begins with identifying what you can see and knowing when to stop.
First, Identify Where the Water Is Coming From
Watch the faucet for a moment before taking anything apart. Water falling from the spout after the handles are fully closed is different from water collecting around the base, running beneath the sink, or appearing at a supply connection. Dry the outside of the faucet and place a towel below it. Then turn the water on and off once while looking for the first point where moisture returns. A slow spout drip may involve an internal sealing part; water around the base can involve different components; water below the cabinet can require more urgent attention.
Do not confuse normal water left in the spout with a continuing drip. Some faucets release a few drops immediately after use, then stop. A leak is persistent: it continues after that brief drain-down, leaves a puddle, or makes the cabinet damp. Record a short video or take photos before you touch anything. They can help you compare the faucet after a repair or explain the problem at a hardware store, property office, or plumbing appointment.
Decide Whether This Is a Suitable DIY Job
An accessible, isolated drip from a familiar bathroom or kitchen faucet may be a reasonable beginner project if you can identify the make and model, turn the water off with working local shutoff valves, and obtain the correct replacement part. You should also be comfortable stopping if a screw is seized, a valve leaks, or the construction does not match the instructions. Read the faucet manufacturer’s service guide before buying parts, since cartridges, seals, and handle assemblies vary widely.
Call a licensed plumber or property manager if water is coming from a pipe, a wall, a floor, the sink drain, or a supply line; if the cabinet is swollen or moldy; if a shutoff valve will not close; or if you smell sewage. The same applies to a faucet that is badly corroded, loose in the counter, or connected to a specialty fixture you cannot identify. Renters should follow their lease and maintenance process rather than disassembling a fixture that the property owner is responsible for maintaining.
Gather Only the Basics
For a simple faucet repair, prepare a flashlight, towels, a small container, a screwdriver set, and an adjustable wrench only if the manufacturer’s instructions call for one. A phone camera is often the most useful tool: photograph the handle position, decorative cap, screw, retaining nut, and old part as you remove them. Cover the sink drain with a stopper or cloth so a small screw cannot disappear into the trap.
Avoid starting with aggressive tools or chemicals. Do not force a handle, heat a fixture, use pipe sealant on parts that do not call for it, or pour drain cleaner into a sink to solve a faucet leak. Those actions can damage finishes, crack components, or create a hazard for the next person who opens the plumbing. If a fastener will not move with normal hand pressure and the correct tool, that is a good point to pause.
Turn Off the Water and Check the Shutoff
Before removing any faucet component, turn off the hot and cold shutoff valves under the sink if they are present and operating normally. Turn each valve gently according to its design; do not force a corroded valve. Open the faucet afterward to confirm that water has stopped and to relieve remaining pressure. Keep the drain closed and place towels under the work area, because some water can remain in the faucet body or supply lines.
If your faucet does not have local shutoffs, if a valve drips when touched, or if you are not certain which building valve serves the fixture, do not improvise. Shutting off a main valve can affect other occupants or expose an old valve to failure. A plumber can replace unreliable shutoffs and address the faucet during the same visit. Safe access to the water supply matters more than saving a service call on a small repair.
Match the Faucet Style and Replacement Part
Most household faucets use a cartridge, compression stem, ceramic-disc assembly, or ball mechanism. The handle style alone does not reliably identify the internal design. Look for a manufacturer name, model number, or part diagram on the faucet, in the original paperwork, or on the manufacturer website. Bring the old cartridge or a clear photo to a hardware store only after you have turned off the water and removed it carefully.
Choose the exact replacement rather than a part that merely looks similar. A mismatched cartridge can leak, prevent the handle from closing, or damage the faucet body. Replace accompanying O-rings, clips, or seals only when they are included in the approved repair kit or identified in the service instructions. Keep the packaging and receipt until you have tested the repair, since an unopened or unused part may be returnable under the store’s policy.
Remove Parts in a Controlled Order
Faucet instructions generally begin with removing a decorative cap, loosening a set screw or handle screw, and lifting off the handle. Work slowly and place each piece in the small container in removal order. Do not pry against finished surfaces with a screwdriver. If you need to protect chrome or brushed metal while using a wrench, wrap the tool or fixture as the manufacturer recommends instead of gripping it directly with serrated jaws.
Once the handle is off, you may see a retaining nut, clip, or bonnet holding the cartridge or stem in place. Photograph the orientation before removal. Pull straight where possible; twisting an assembly that was meant to lift can break a plastic guide or score a sealing surface. Mineral buildup can make parts stick, but a stuck component is not an invitation to use more force. At that point, manufacturer support or a plumber is safer than risking a damaged valve body inside the counter.
Install and Test Without Rushing
Install the approved new part in the same orientation as the old one. Refit clips, nuts, and handles exactly as the service guide shows, tightening only to the stated level. Overtightening is a common source of stripped threads, damaged plastic components, and handles that do not move smoothly. Reopen the local shutoff valves slowly while watching below the sink, then run both hot and cold water at a low flow.
Check the spout, handle base, cabinet floor, and shutoff connections. Let the water run briefly to clear air, then turn it off and wait a few minutes. If there is no continuing drip and no water below the sink, remove your towels and recheck later that day. If the leak remains, gets worse, or appears in a new place, turn the water off again and arrange help. Reassembling and testing once is sensible; repeated disassembly without a diagnosis can create more damage.
Do Not Ignore Water Around the Base or Cabinet
Water at the base of a faucet may be caused by worn seals, but it can also travel from a loose supply connection or from water splashing around the sink. Water below the cabinet may come from the drain, disposal, dishwasher line, supply hoses, or shutoff valves rather than the faucet itself. Use dry paper towels to identify the wettest point; never put your hands near electrical cords, outlets, or appliance connections in a wet cabinet.
Dry the area and address active moisture promptly. Persistent dampness can damage cabinet material and may encourage mold growth. If you find staining, soft wood, recurring puddles, or a leak that continues with the faucet off, call a professional. The home maintenance checklist can help you record the date, location, and visible damage for follow-up.
Prevent the Next Drip
Use faucet handles gently instead of tightening them beyond their stopping point. Clean aerators and exterior surfaces with products that are appropriate for the fixture finish, and follow manufacturer guidance for mineral buildup. Do not hang heavy items from a pull-down hose or use a faucet as a support when climbing onto a counter. Small habits reduce strain on parts that are designed for normal, not excessive, force.
During a regular household reset, glance inside sink cabinets for moisture, corrosion, or stored items pressing against pipes. Keeping the area open makes leaks easier to notice and gives a plumber safe access if a repair is needed. For a simple routine that includes these quick observations, see the weekly home reset guide.
Conclusion and Next Steps
A dripping faucet may have a simple cause, but a safe repair is never based on guesswork. Identify the leak location, use the manufacturer’s instructions and exact replacement part, and confirm that the water can be shut off before you begin. Stop when access is unsafe, parts are stuck, or moisture appears beyond the faucet itself. A careful inspection and timely call to a qualified plumber can protect both the fixture and the home around it.